Containerizing .NET RESTful Engine with Docker
Fluent Engines can be used in a variety of ways to fit with your specific use-case. This article will discuss how to containerize a custom solution using the Fluent .NET RESTful engine with Docker. With this method, it is simple to create your own custom implementation of the .NET RESTful engine inside of a Docker container.
Requirements
- Windows 10 64-bit: Home/Pro 2004 or higher, or Enterprise/Education 1909 or higher
- Docker Desktop installed, configured to use Windows Containers
- A valid license key for the .NET Engine
Licensing
Fluent licensing exists for many different needs. There are Pros and Cons for each type of License. The FLEX license is meant to be used in automated management environments such as Container management systems, Azure services and Auto scaling virtual environments. If you are planning on hosting your application with the .NET Engine with any of these types of environments, we highly recommend the purchase of a FLEX (per page) license instead of a PRO (per machine/instance) license.
Using a PRO license limits the number of containers that can be run the RESTful Engine concurrently to the number of engines purchased. Both PRO and FLEX license keys will be released automatically when the container shuts down.
Verify Docker Installation
This guide assumes that you have Docker Desktop installed and configured on your machine. If it is not, follow the Docker Desktop installation documentation here. To verify that your installation was successful, open a command prompt or Powershell window and run the command:
docker
If it returns a list of arguments, then Docker is installed on your machine. Additionally, Docker must be configured to run Windows Containers to successfully containerize the Fluent .NET Engine. To check, right-click on the docker icon located in the hidden icons section of the Windows taskbar.


If the menu that appears says "Switch to Linux containers..." then Docker is configured to run Windows containers. If the menu says "Switch to Windows containers..." then Docker is configured to run Linux containers
Getting Started
To begin, visit the Fluent Download Page and download the .NET RESTful Reporting Engine which contains all the required files for this guide.

- App_Data contains the API documentation and a folder for requests.
- Areas contains the web pages for the application.
- bin contains the dll files and other code.
- Global.asax is the ASP.NET application.
- index is the html for the root page.
- Web.config is the file that contains the license key stuff and other settings for the engine.
- Fluent License Agreement is the license agreement to use Fluent software.
License Key
The valid license key will be put inside the Web.config file in place of [[LICENSE]] and save the file:

With your license key entered, the image is ready to be built, and a container can be created with that image. The .NET RESTful Engine is an API that allows communication using HTTP requests. Information on how to interact with the API can be found on the Fluent OpenAPI reference.
Creating the Dockerfile
The Dockerfile can be created using a command line. Navigate to the folder using the cd command or by using PowerShell set location commands. Then create the file by using notepad or any other text editor.
notepad Dockerfile
Verify the Dockerfile in the same folder that contains the .NET RESTful Engine. If the file was extracted then there may be 2 levels named RESTfulEngine. Verify it is on the same level as the folder that contains the required files.

Dockerfile contents
The Dockerfile manages how Docker will build the image for the container. For this guide, Docker is going to use a base image from Microsoft for ASP.NET framework 4.8 to run our implementation. From there, Docker will then copy over the necessary files to run our project. Finally, Docker sets the entry point for the image to our custom implementation, so that when a container with this image is run it will automatically run our code, and stop when completed. If you want to play around with the container while it is running, add a "#" symbol before "ENTRYPOINT" on the final line to comment it out. Doing so will result in the container built from this image launching without running our application, allowing you to enter the container while its running to view its file structure and run commands. For further information about Dockerfiles, please use Docker's official documentation.
#Get the runtime for asp.net framework 4.8
FROM mcr.microsoft.com/dotnet/framework:4.8

#Working directory set to wwwroot
WORKDIR /inetpub/wwwroot

#Copy files over
COPY ./RESTfulEngine/ ./

#Expose the port
EXPOSE 80

#Start process upon start
ENTRYPOINT ["C:\\ServiceMonito.exe", "w3svc"]
Building the Image
Now that you are familiar with what we need to build the image, it's time to do so. The image is built running the command:
docker build -t dotnet-restful-engine .
This command builds the image and names it dotnet-restful-engine. From there, the image is built and a container can be built with it!
Creating the Container
To run the newly created docker image in a container, simply enter the following command in the same command prompt or PowerShell that you used to create the image.
docker run -p 8181:80 --name windward-dotnet-restful dotnet-restful-engine
This command creates a Docker container named windward-dotnet-restful using the dotnet-restful-engine image and routes port 80 of the container to 8181 on your local machine.
Test the Container
After the container is run, open your internet browser and navigate to localhost:8181 which will connect to the homepage of the Fluent .NET Engine.
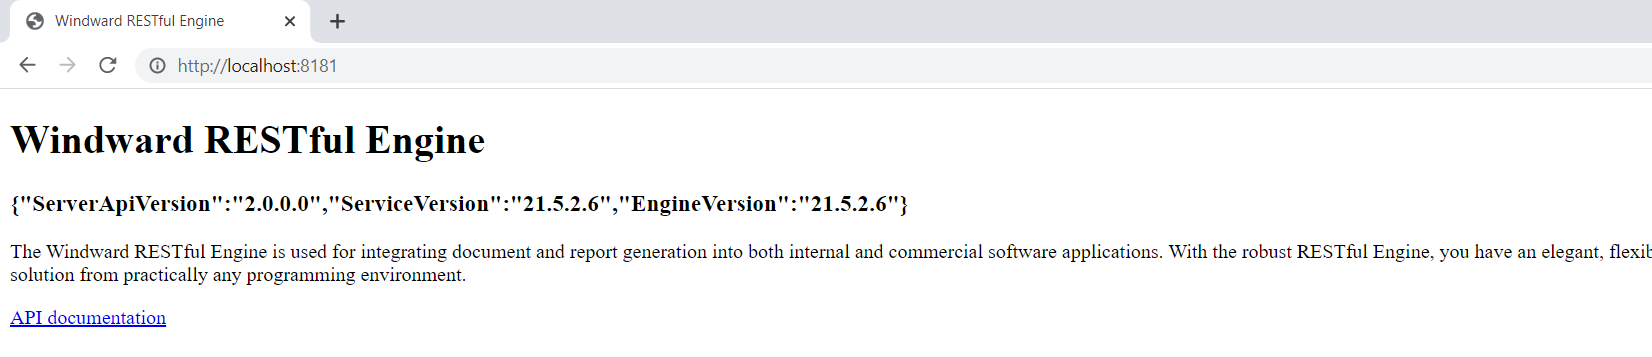
Congratulations! The container has been successfully created and further information on using the engine can be found in the Fluent API tutorials